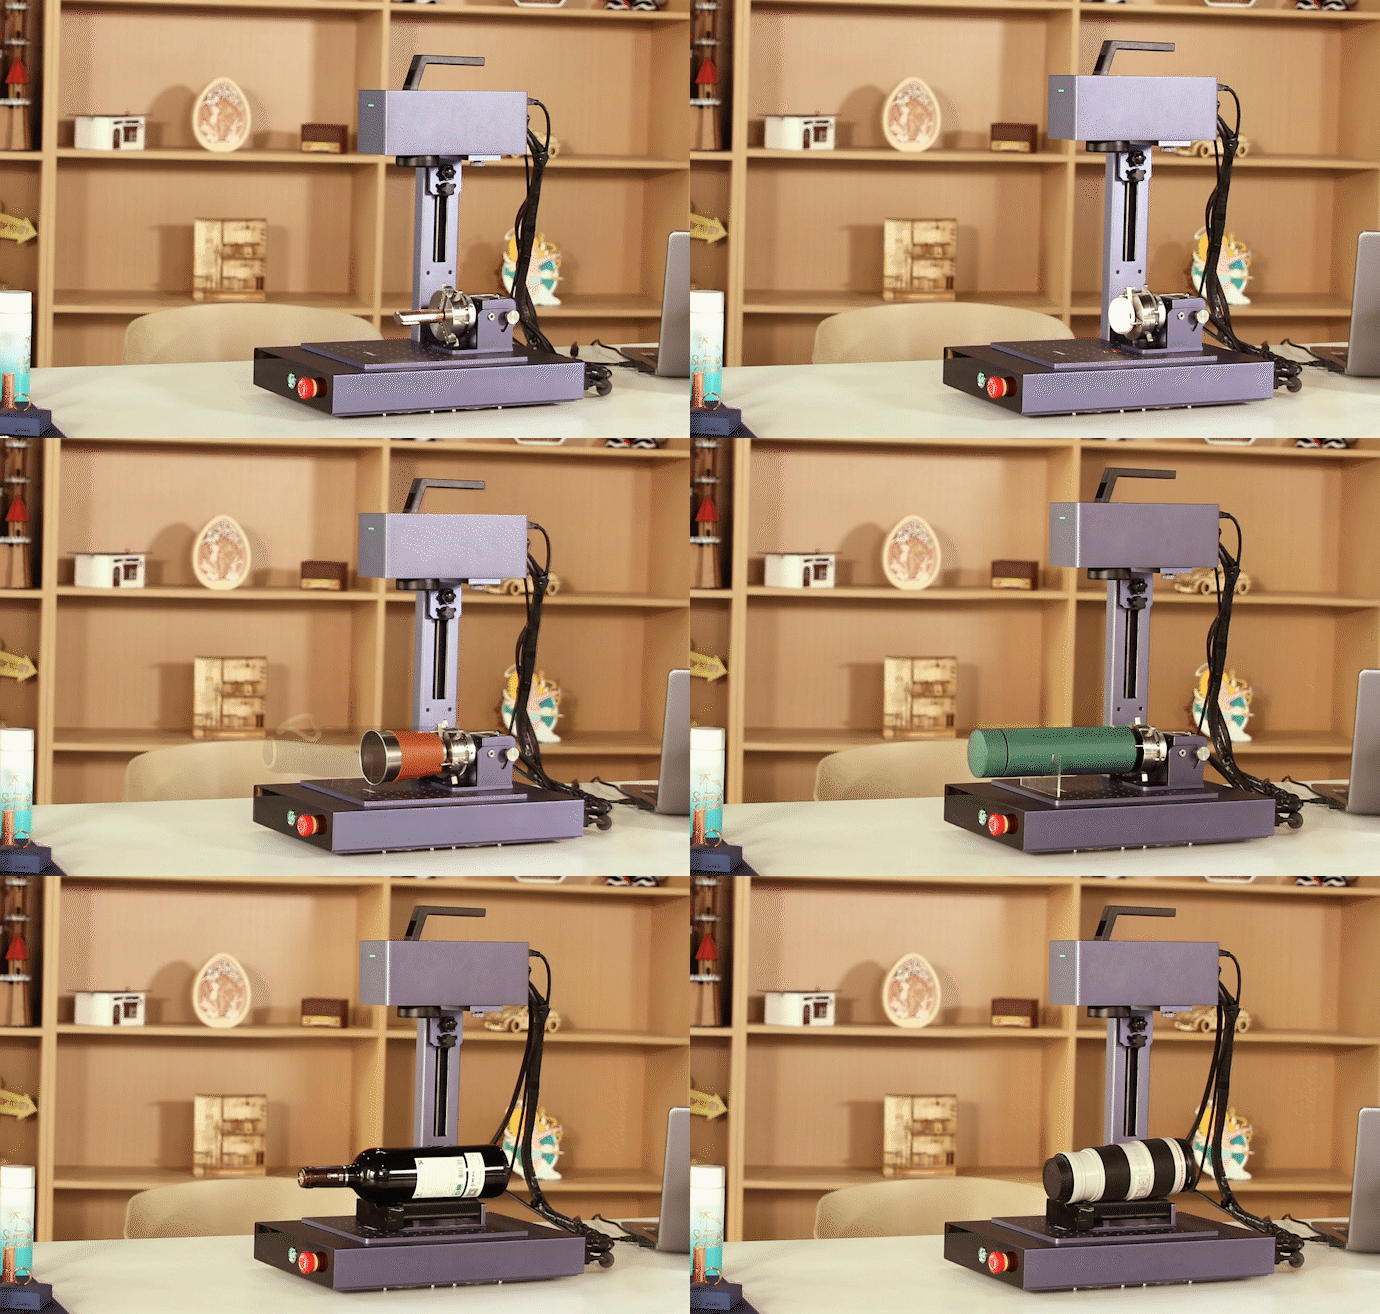
A production-ready guide to engraving stainless-steel tumblers with the GWEIKE G2 Fiber Laser series — including rotary calibration, parameter strategy, troubleshooting, and real-world settings.
Video: GWEIKE fiber laser engraving demo on stainless-steel tumbler.Personalized stainless-steel tumblers engraved with a GWEIKE G2 fiber laser.
What You Need to Get Started
The Right Laser: GWEIKE G2 Series
Not every laser can handle stainless steel. Diode lasers struggle with bare metal, and CO₂ lasers need marking sprays. For direct, permanent engraving, a fiber laser is the best choice.
- G2 Fiber Laser Marking Machine — Entry-level professional machine. Ideal for hobbyists and small businesses engraving logos or names on cups.
- G2 Fiber Laser (30W version) — Higher power and faster speed for deeper engravings. Great for side businesses handling dozens of tumblers each week.
- G2 Pro Fiber Laser Engraver — Professional-grade, up to 50W, designed for shops producing hundreds of tumblers daily. Supports larger areas and faster workflows.
All G2 models are LightBurn compatible, easy to operate, and engineered for stainless-steel marking.

Rotary Attachment
A rotary tool rotates the tumbler as the laser engraves, ensuring designs stay aligned and undistorted (Rotary Attachment Installation Tutorial).
Software
- GWEIKE Glaser (beginner-friendly)
- LightBurn (advanced design & batch production)
GWEIKE G2 Fiber Laser Series Usage Steps
Step 1: Prepare Your Artwork
- Import vector files (SVG, DXF, AI) or high-resolution bitmaps.
- Align the design along the tumbler’s vertical axis.

Edges look jagged → Image resolution too low → Use 300–600 DPI or vector art.
Design warped → Graphic width larger than tumbler circumference → resize to match (π × D).
Step 2: Mount the Tumbler
- Place the tumbler securely in the rotary. Need a Rotary? Click here to buy.
- Check that top and bottom edges are level.

Cup slipping → Add grip tape or switch to chuck-style rotary.
Tilted engraving → Shim one end of the cup to level.
Step 3: Choose Parameters
Here’s how different G2 models perform on stainless steel:
| Machine | Power | Speed | Frequency | Passes | Notes |
|---|---|---|---|---|---|
| G2 20W | 80–100% | 600–1000 mm/s | 30–50 kHz | 1–3 | Best for names/logos |
| G2 30W | 90–100% | 800–1200 mm/s | 25–40 kHz | 2–5 | Faster, deeper marks |
| G2 Pro 50W | 100% | 1000–1500 mm/s | 20–35 kHz | 3–6 | Production & deep engraving |

Edge burns/soot → Increase air assist or raise speed.
Design too shallow → Lower speed or add passes.
Low contrast on bare steel → Switch to lower frequency (20–35 kHz) for darker marks.
Step 4: Start Engraving
- Run a test pattern first (e.g., a 10×10 mm square).
- Monitor fumes and extraction.

Flames >2 cm → Too much heat → raise speed, lower overlap, increase air assist.
Banding lines → Hatch spacing too large → tighten to 0.03–0.05 mm.
Color inconsistent → On powder coating, adjust focus slightly into the coating.
Step 5: Clean & Finish
- Powder-coated cups → wipe with a damp cloth.
- Bare stainless → polish with Scotch-Brite or metal cleaner.
Residue stuck → Isopropyl alcohol + microfiber cloth.
Rust concerns → Apply a clear, food-safe protective coating.
Recommended Laser Settings for Stainless Steel Tumblers
| Goal | Cup Finish | Power | Speed | Frequency | Notes |
|---|---|---|---|---|---|
| Black mark | Bare steel | 90–100% | 600–800 mm/s | 30–50 kHz | High contrast logo |
| White mark | Bare steel | 60–80% | 1000–1400 mm/s | 60–100 kHz | Shallow frosty look |
| Powder coat removal | Coated | 70–90% | 1200–1600 mm/s | 40–60 kHz | Reveals stainless beneath |
| Deep engraving 0.2–0.3 mm | Bare steel | 100% | 500–900 mm/s | 20–30 kHz | Multiple passes; contour finish |
Tips & Troubleshooting
- Overheating? Alternate between two cups in production to reduce heat buildup.
- Seam visible? Add a 0.5–1 mm feathered hatch overlap at the start/end point.
- Polished stainless too reflective? Slightly defocus (+0.1 mm) to increase absorption.
- Different steel grades (304 vs 316) → 316 is harder; lower speed & add 1–2 passes.
FAQ
Can I engrave tumblers with a diode or CO₂ laser?
Diode can mark coatings but not bare stainless effectively. CO₂ requires marking spray. For direct, permanent metal engraving, use fiber lasers like the G2 series.
Do I need a rotary attachment?
Yes, for round tumblers. Only flat surfaces (like lids) can be engraved without it.
How long does one tumbler take?
With the G2 Pro 50W, a 5×5 cm logo takes 2–3 minutes. With a G2 20W, expect 5–7 minutes.
Conclusion
Laser engraving stainless steel tumblers is one of the most profitable personalization projects today. With the GWEIKE G2 Fiber Laser series, you can achieve clean, permanent results—whether you’re engraving a single gift or running a production line.
Pick the G2 that fits your throughput and depth needs, and keep this guide as your baseline process card.
Explore G2 Fiber Laser (20W/30W) · Discover G2 Pro Fiber Laser Engraver (50W)
Photos & Videos


